This article covers the basics of creating a blog post in WordPress. It assumes that the account you are using has Editor permissions or higher (the ability to make and maintain posts). The article can be followed from start to finish, but you may also jump to a section from the table below.
Logging In
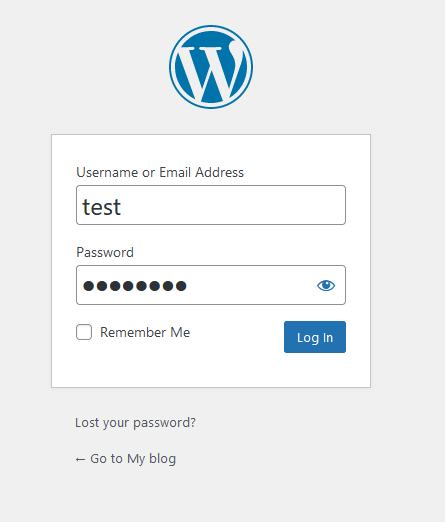
Start by logging into your website. Generally the login page can be found at “yoursite.com/login” or “yoursite.com/wp-login”. The login page will look like the above.
Navigating to Posts Area
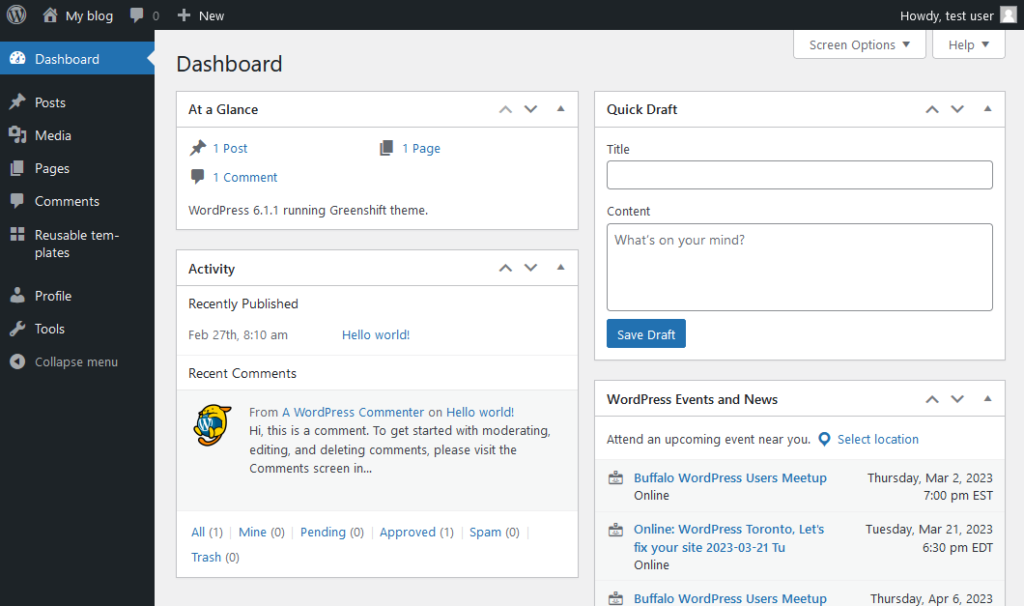
Once you are logged into WordPress you will see the dashboard, similar to shown above. Now click “Posts” from the menu on the left side of the screen.
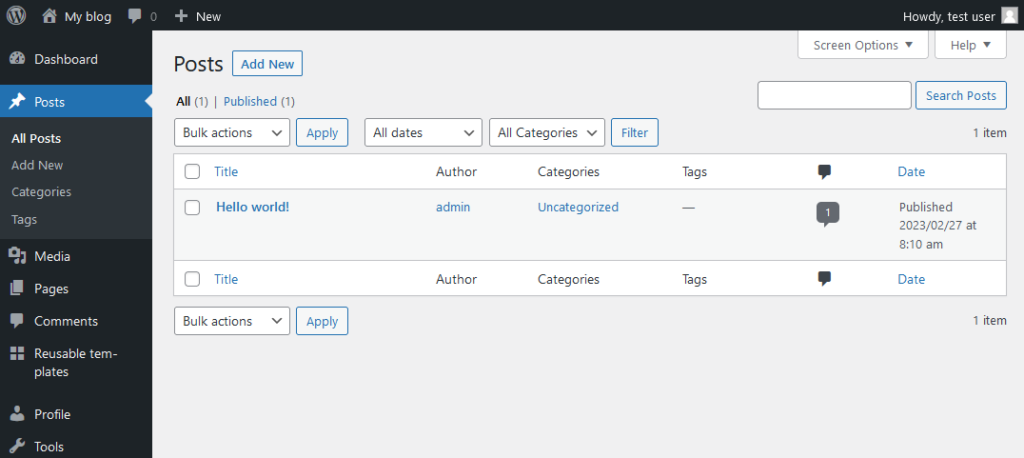
The posts menu will expand, and a listing of all posts will appear. From here you are able to edit, modify, quick edit, delete, and create new post. Next click “Add New” to create a new post.
Working In Posts Editor
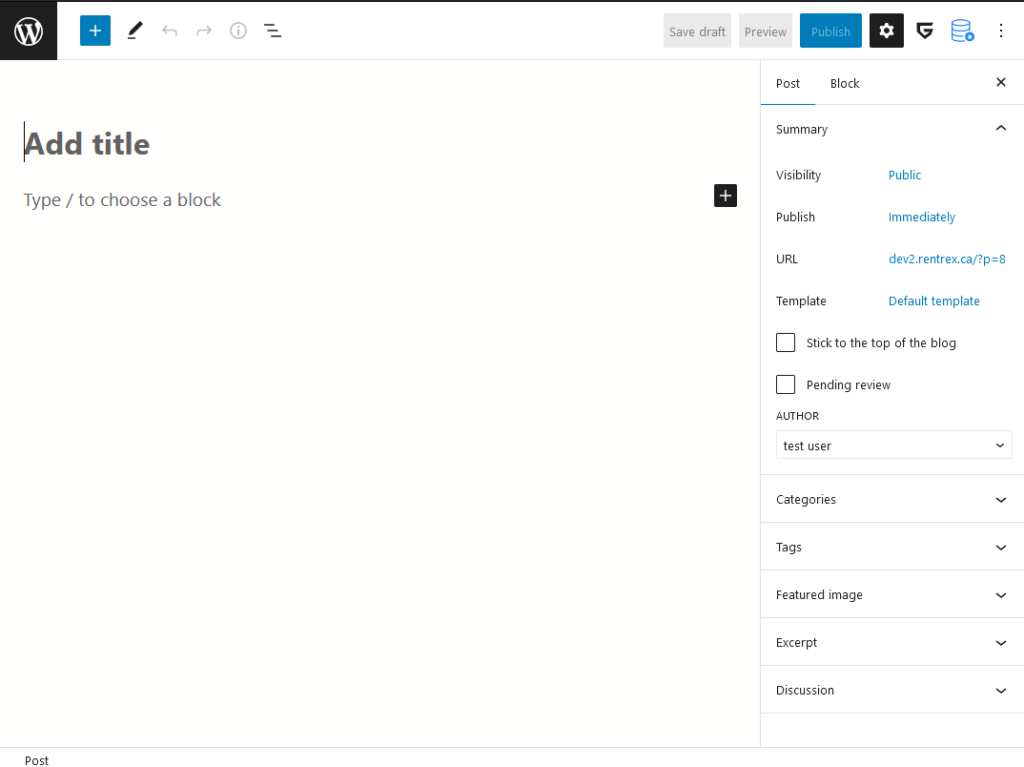
The post editor will now open, start by adding the title of your blog post in the “Add title” section.
On the top right hand side of the posts editor the gear icon, opens the settings menu. Settings are provided both for the page, and for the currently selected block.
To open the blocks drawer click on the blue “+” icon at the top left corner of the screen.
Adding Blocks To a Post
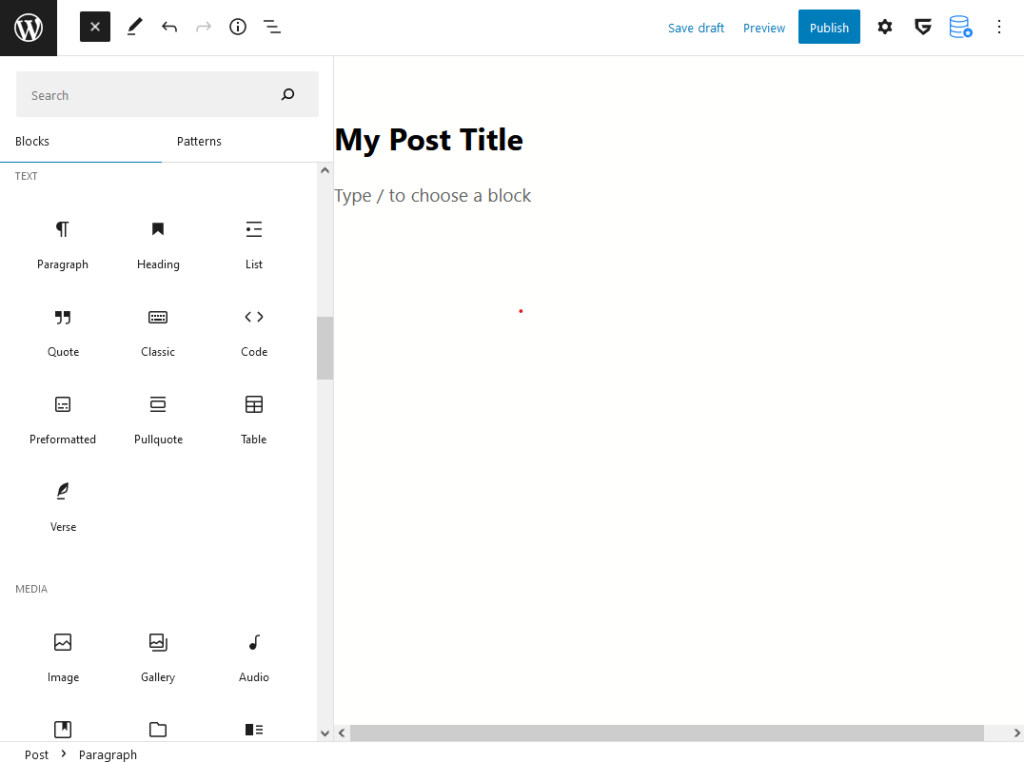
The blocks drawer provides a listing of all options available to be added to the post. Blocks allow adding images, paragraphs, headers and more.
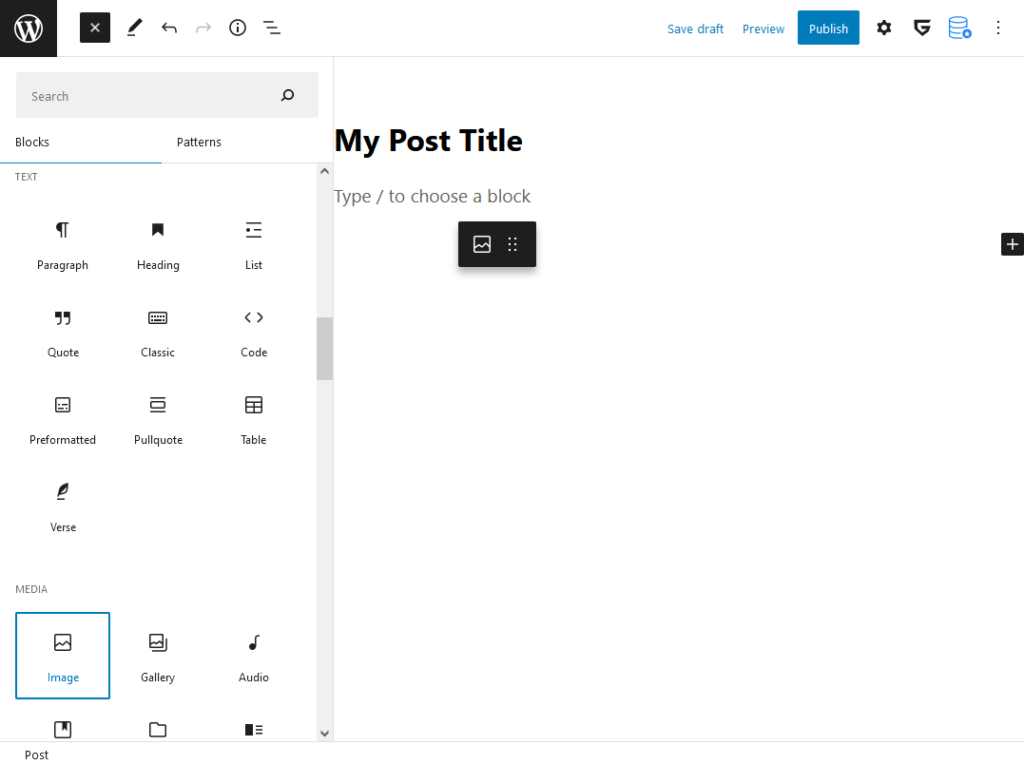
The first block we’ll add is the “Image” block, click and drag it from the blocks drawer to the post area.
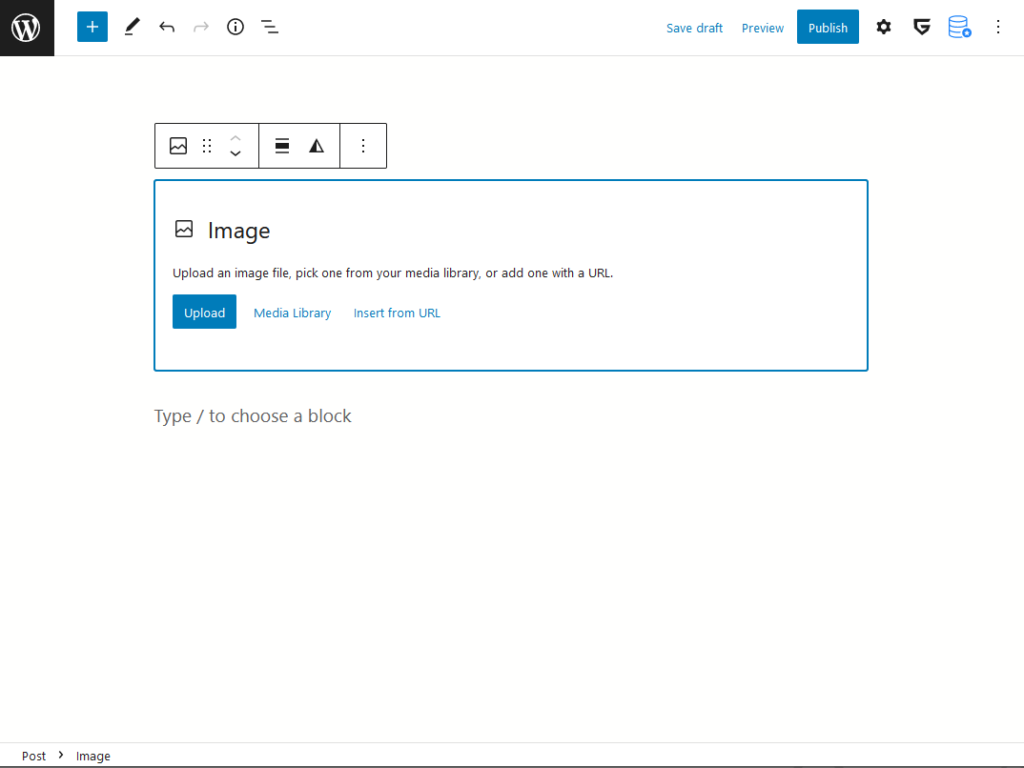
Now that the image block is added to the post, it will prompt to select which image to use for it. If there is already images on the library, you may select “Media Library” to view and select the existing image. Otherwise, to upload a new image click “Upload”, and a file dialog will appear allowing you to select the desired picture.
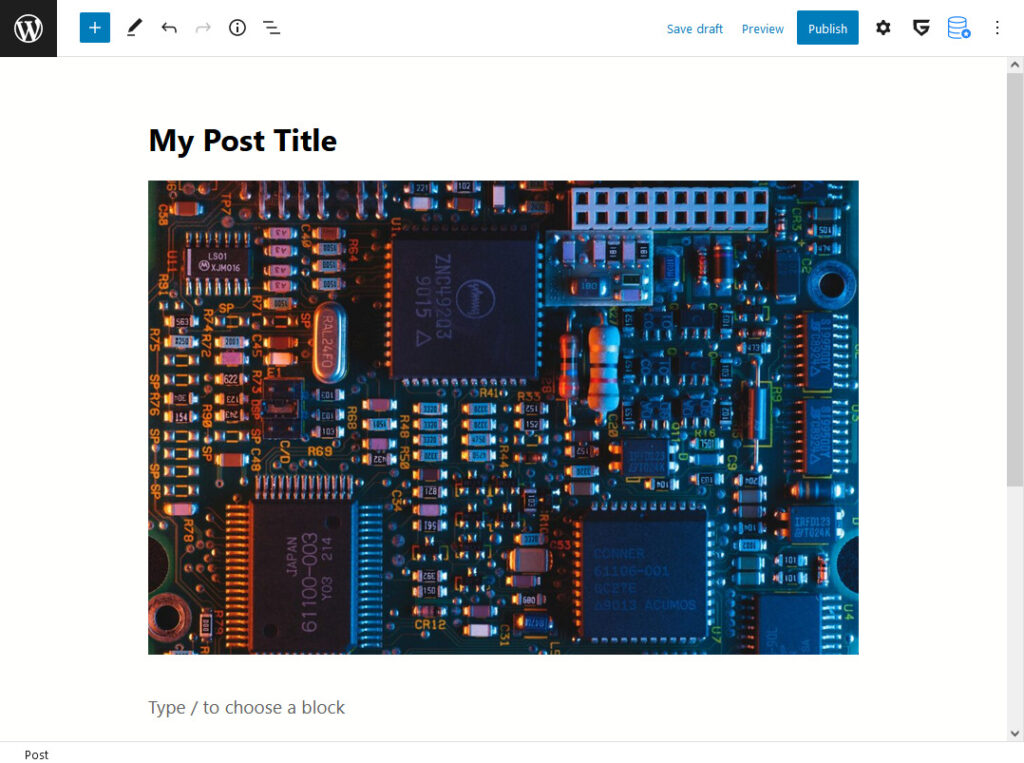
We now see that our image has been added to the post.
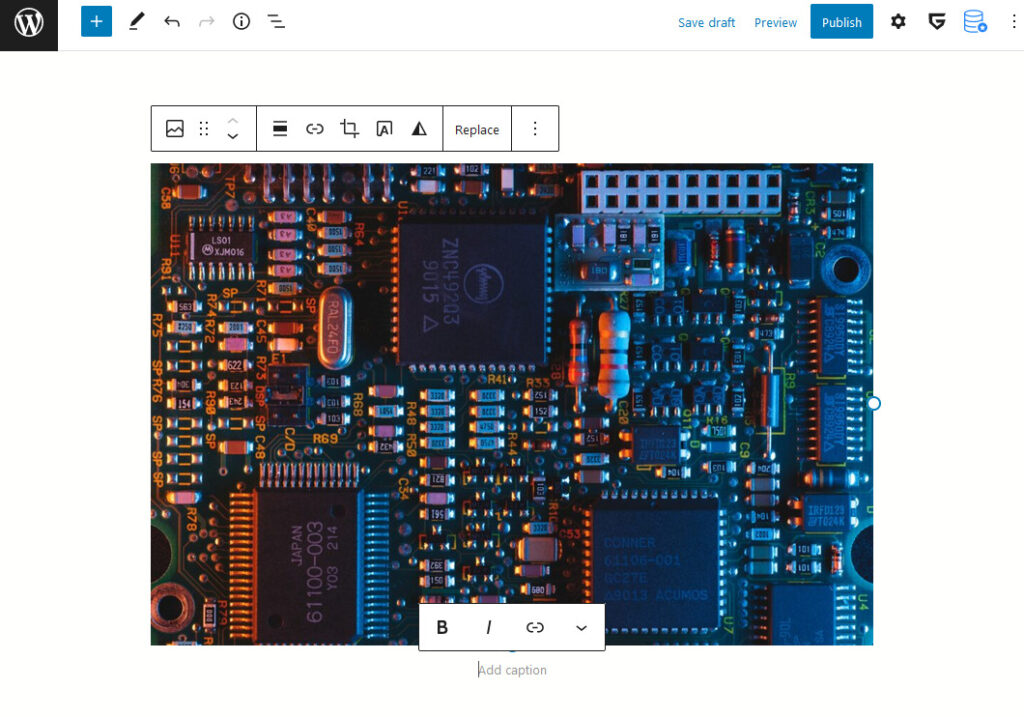
There is a caption area under the image that may be used if desired. Click just below the image to have it appear. Enter the caption where it prompts to “Add caption”.
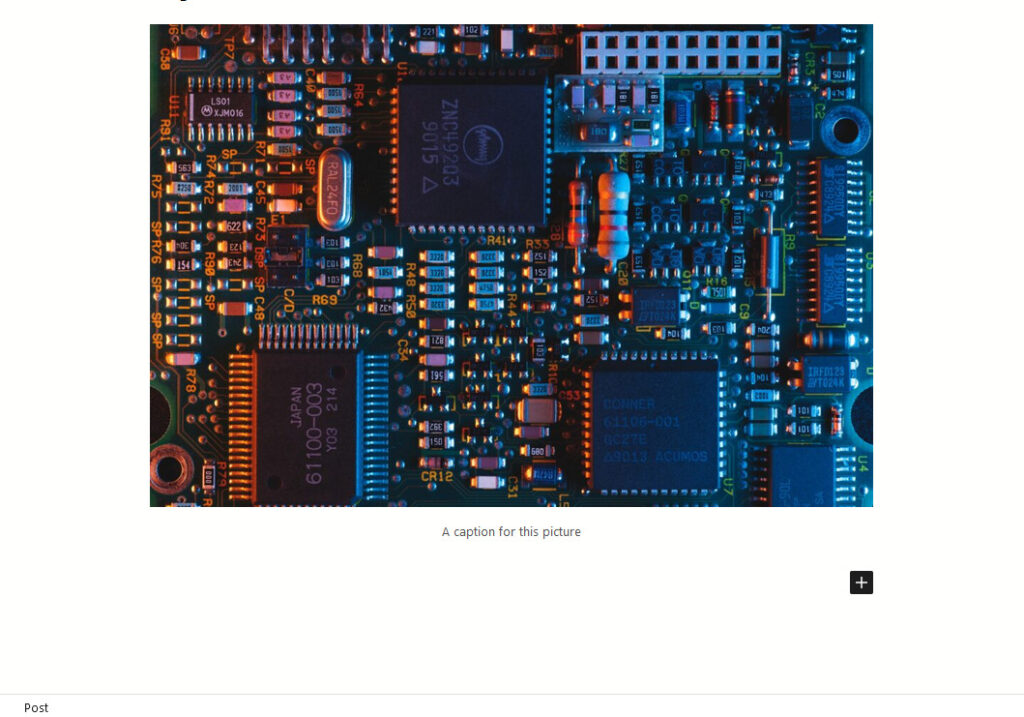
Now, click outside the image block area. Note that the black plus button has appeared. This provides an alternative interface to add new blocks to the post. Click the icon to bring up the recent blocks dialog.
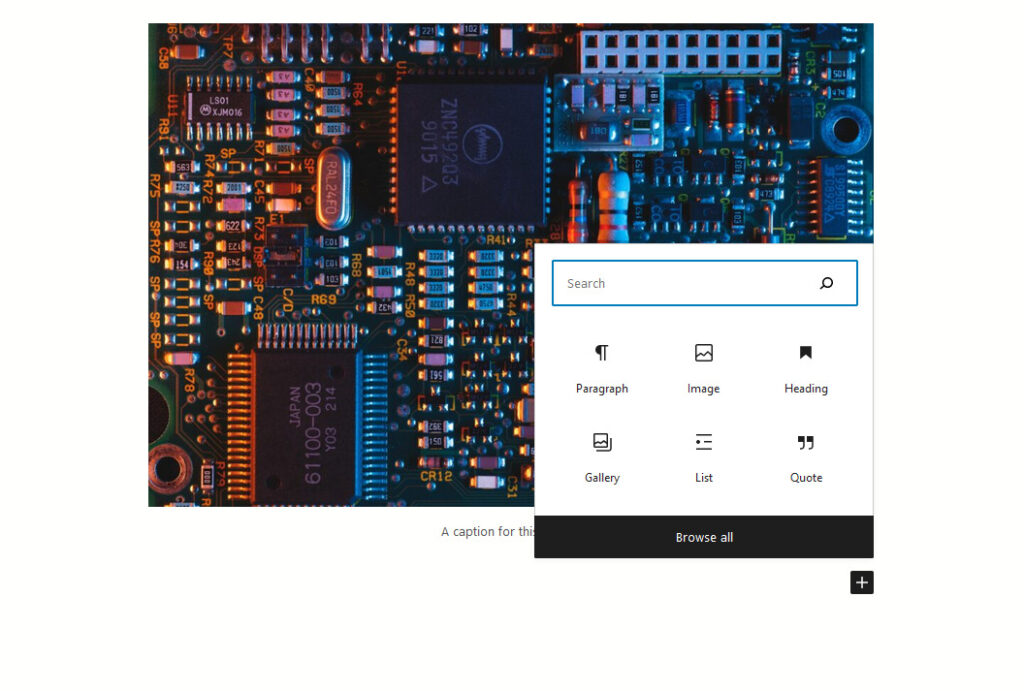
In the recent blocks dialog, we can see some common/recent blocks. This will change as you add other blocks to your post. The next block we will add using this dialog is a “Paragraph”. Click “Paragraph” from within the dialog.
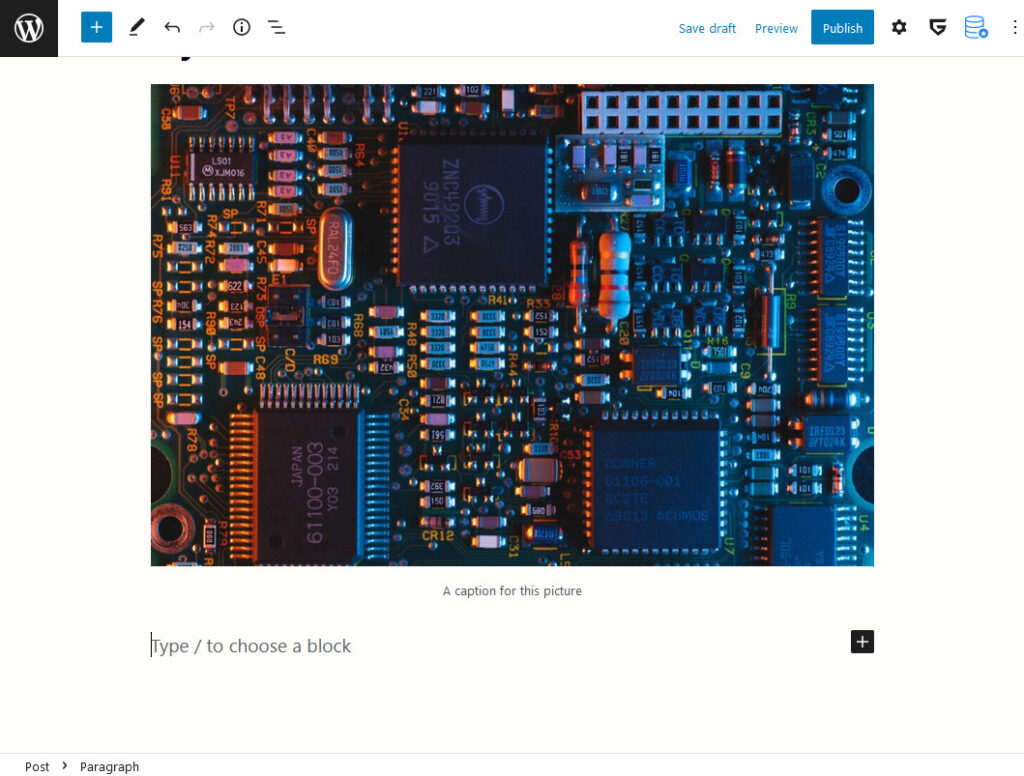
A new block is added to your post. To add to the paragraph block type or paste your text where it says “Type / to chose a block”. To follow this example use any text of your choosing.
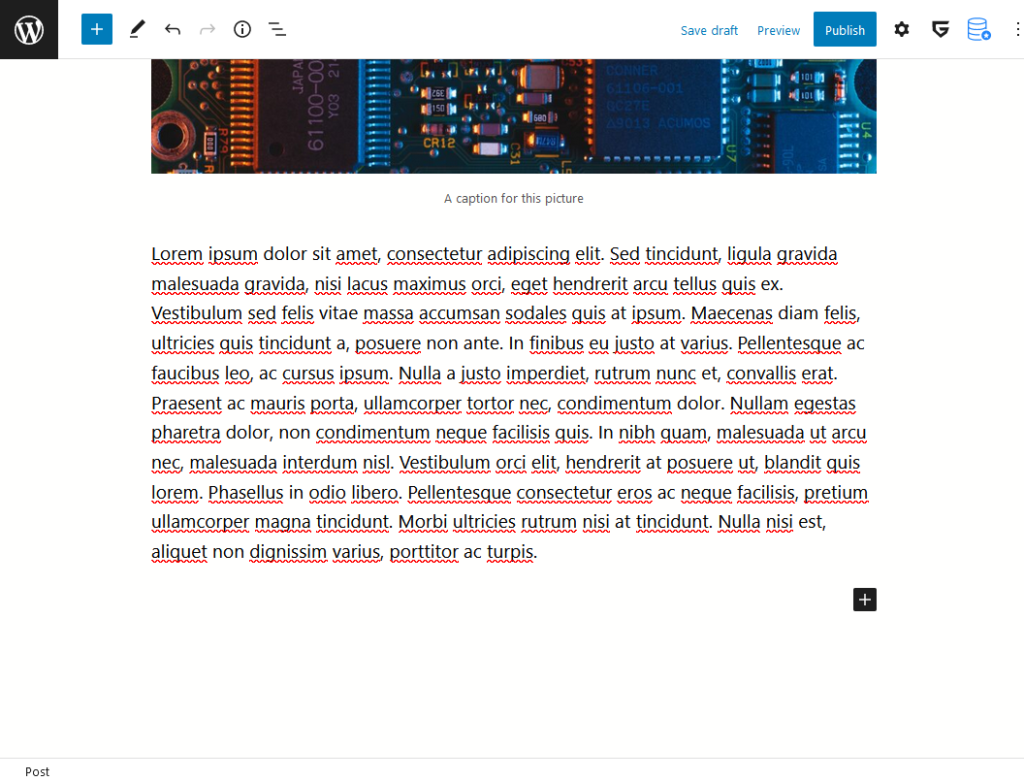
Your text will be shown similar to the above. For this example we’re using some Lorem ipsum text. Click the black plus icon again to bring up the recent blocks dialog.
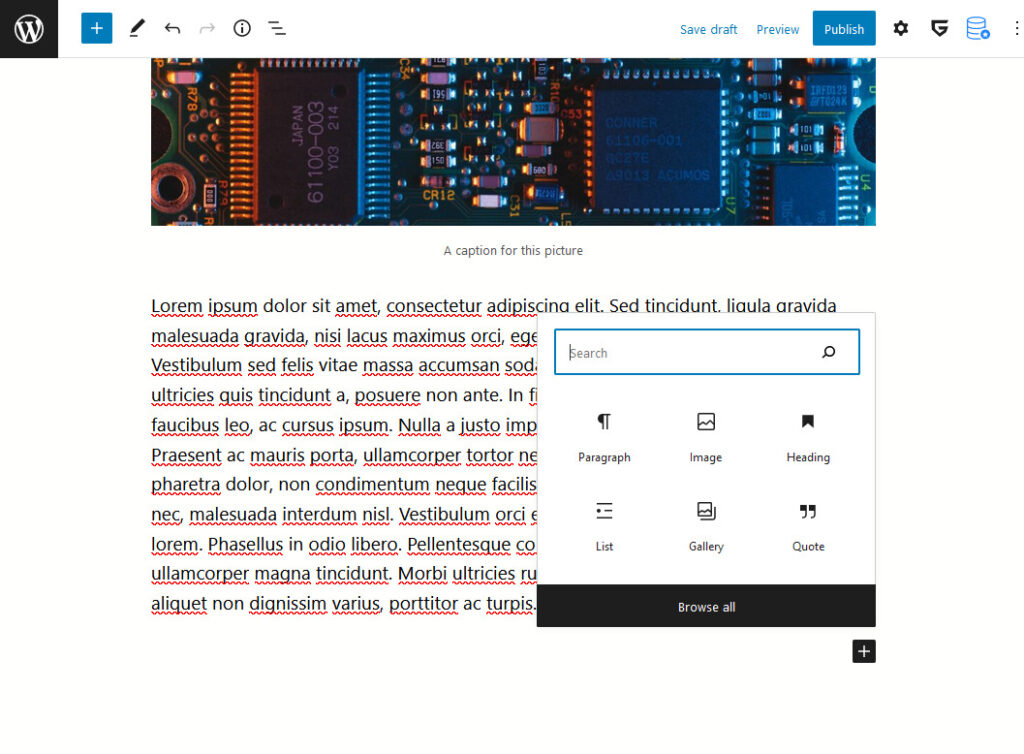
Now we will add a “List” block to the page. If this is not shown, simply search for it.
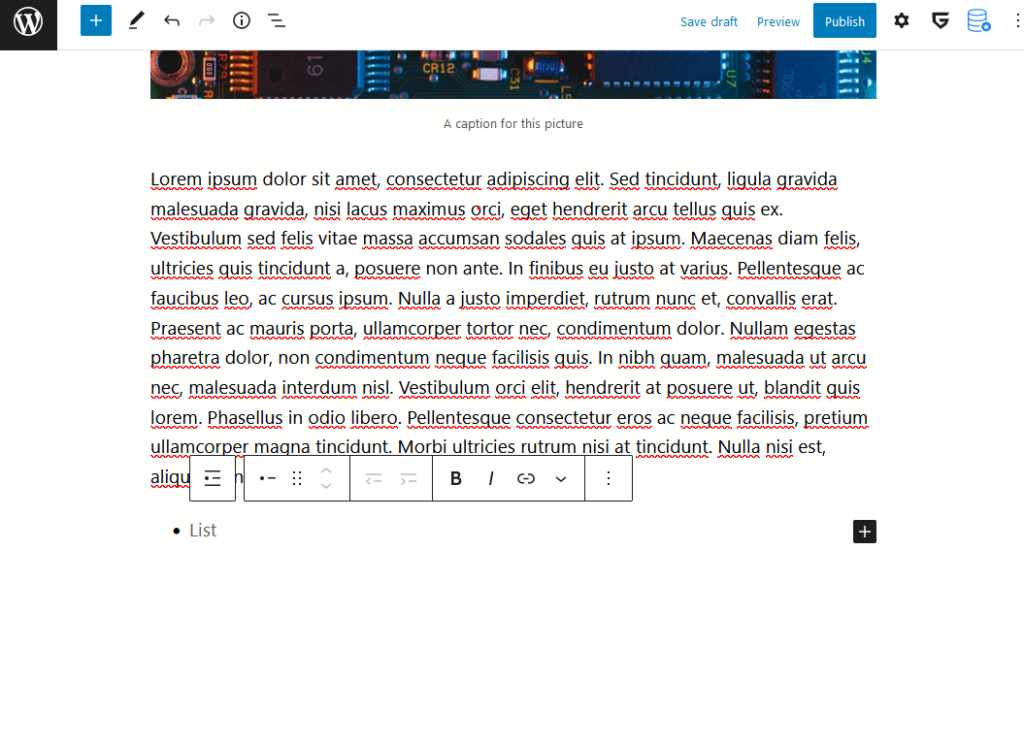
A bullet point list will be added to the post. Type an item, followed by hitting the enter key to create a new list item. When completed click outside of the list block.
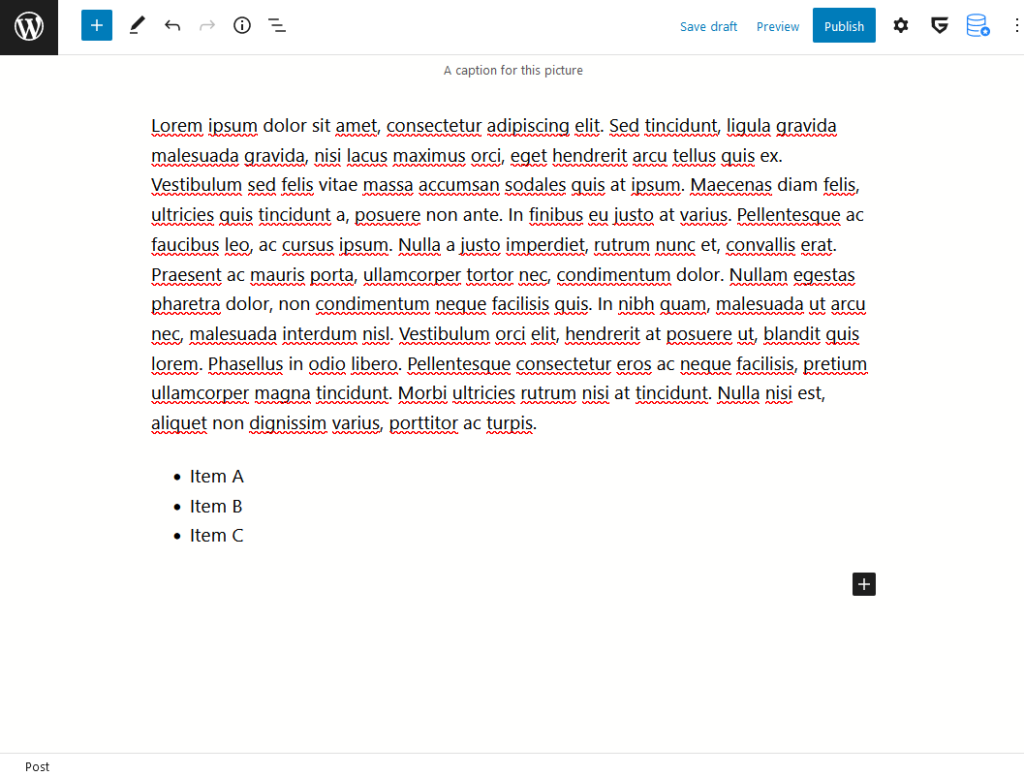
Observe that the list block will be populated similar to the above. Next click the black plus button to add another block.
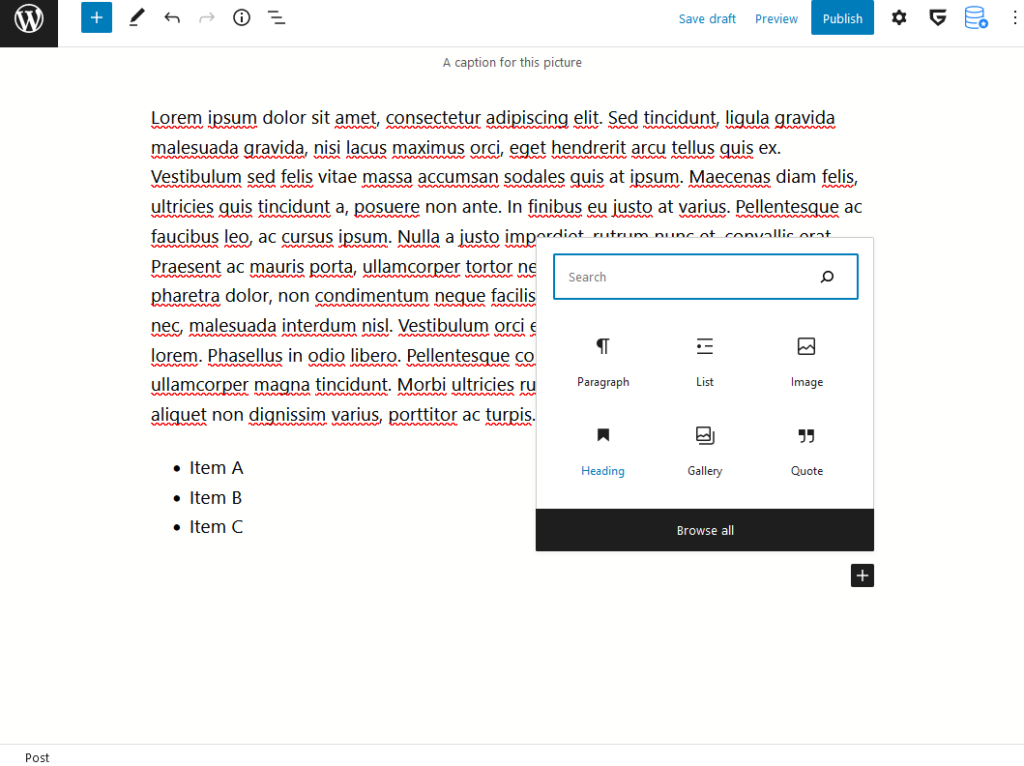
Now we will add a “Heading” to the post. Headings should be used for title sections as they provide more functionality. It is possible to jump to headings, and screen readers and reading modes will interpret headings differently to provide the best experience to your readers. Click on “Heading” to add a heading to your post.
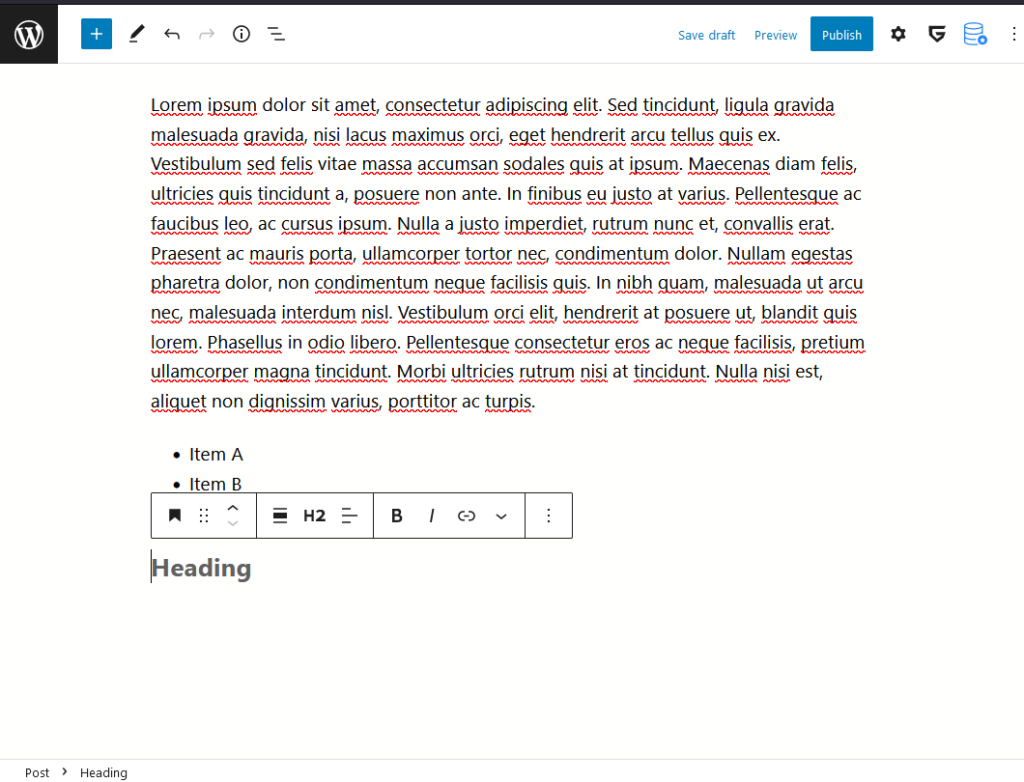
Type your section heading in the “Heading” prompt.
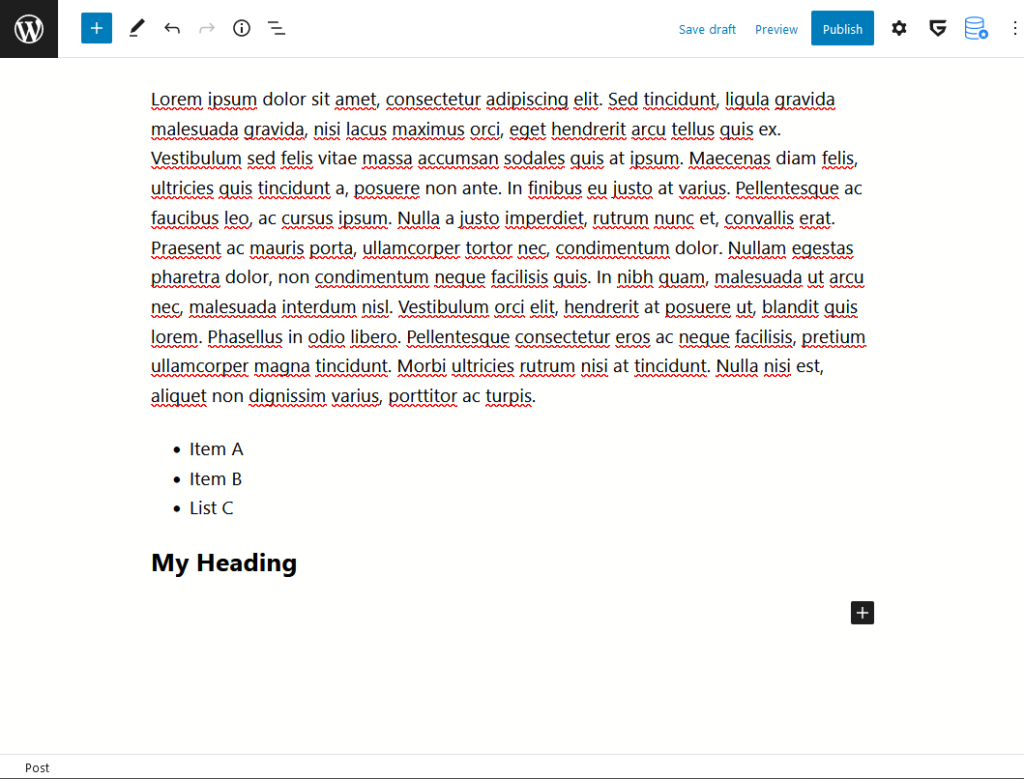
This was a simple review of a few blocks that may be added for most simple post types. There are many more blocks that can be used for formatting your posts. Explore the blocks drawer and test out some other blocks on your post to see how they appear. It’s possible to preview the page without publishing, this will be shown in the “Previewing a Post” section.
Working With Blocks
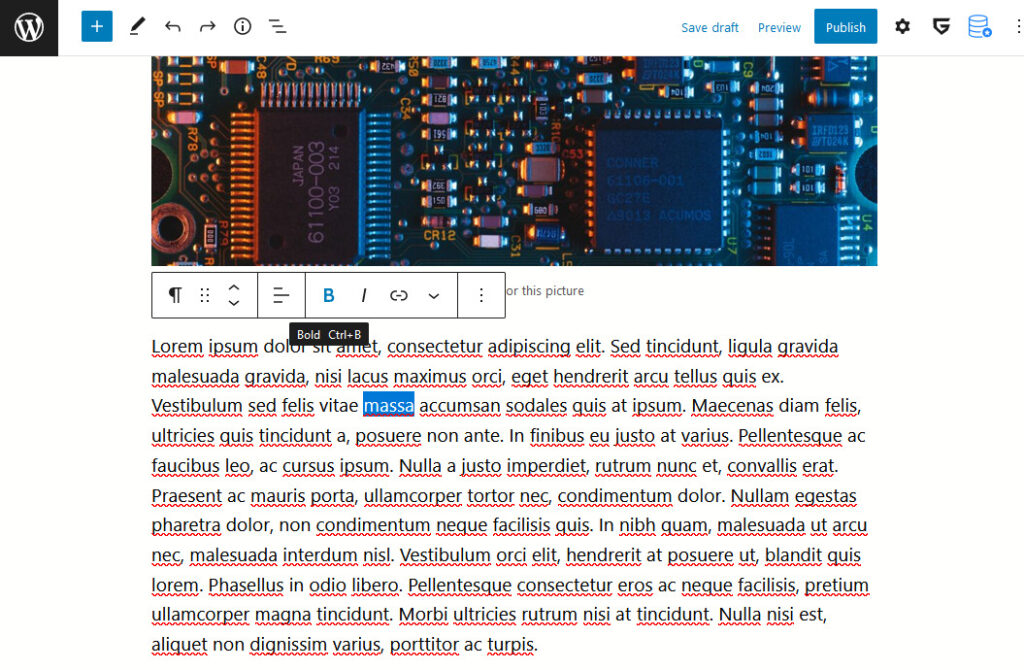
As paragraphs, headings and other fields are all rich text fields they may be modified to bold, italicize, and otherwise modify text within them. For the first example we’ll bold a word in the paragraph previously created. On the edit pane above the block click the “B” to bold the selected text.
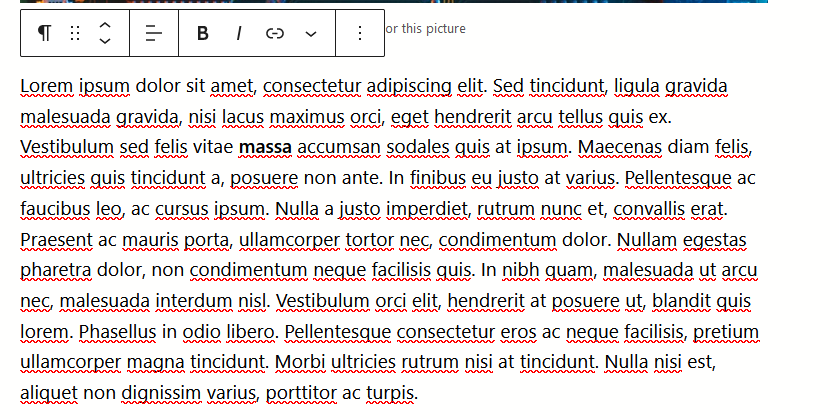
Observe that the selected text is now bold.
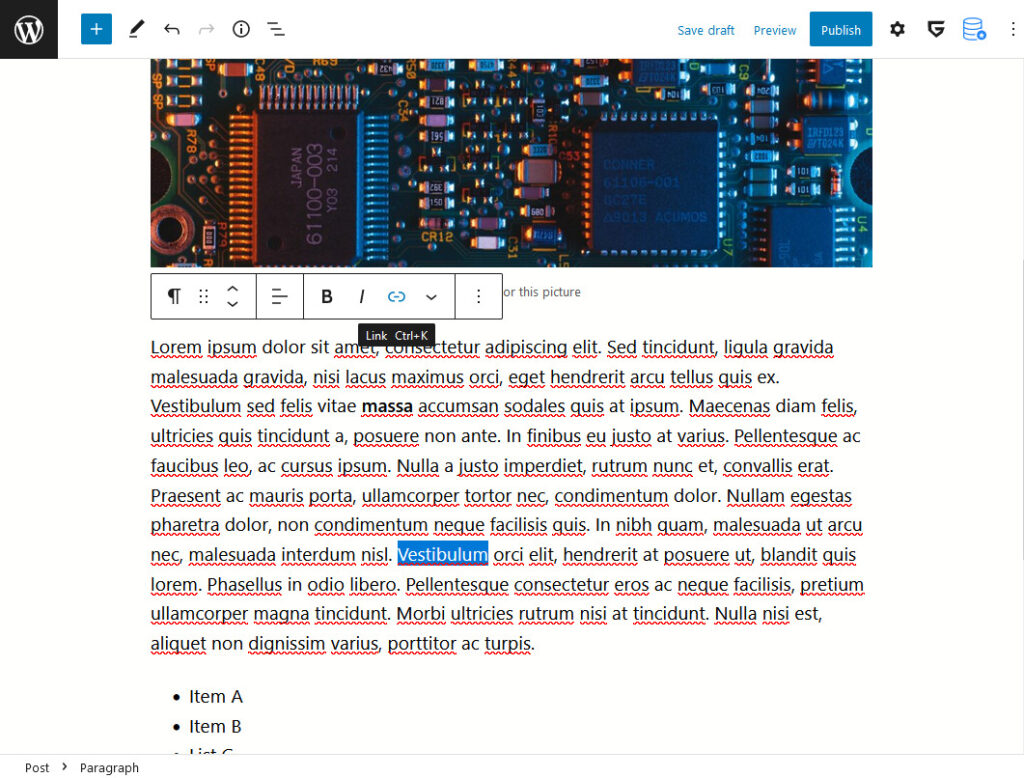
Now we will add a link. Select a word, and from the edit pane click the “link” icon.
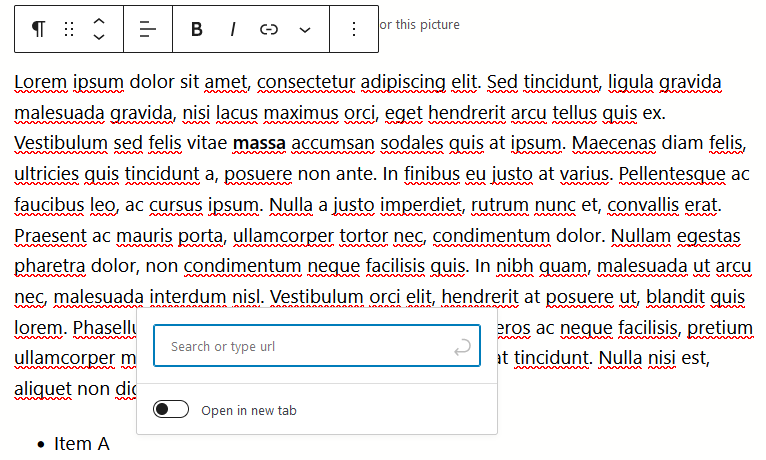
A dialog will appear to enter the URL for the link.
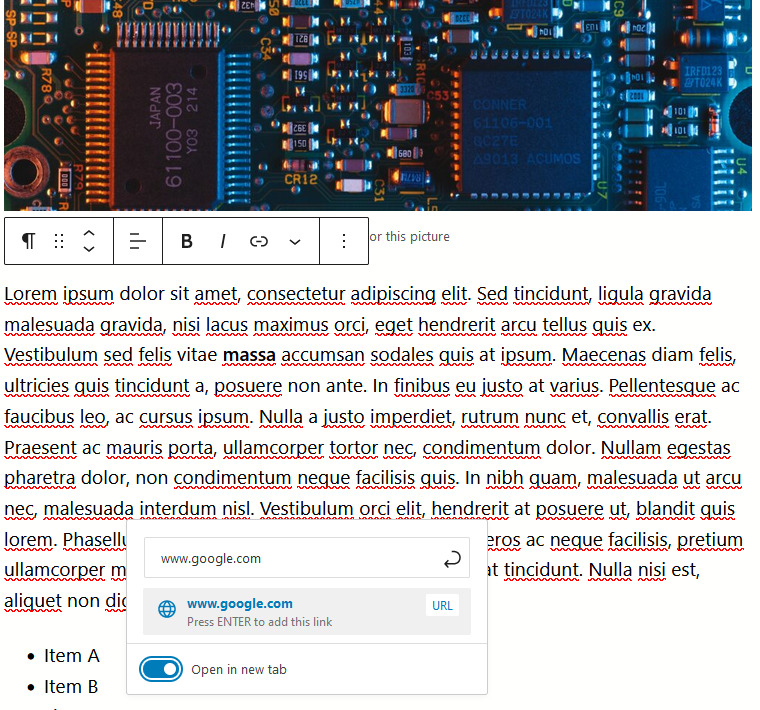
Press enter to add the link, and toggle the “Open in new tab” as desired.
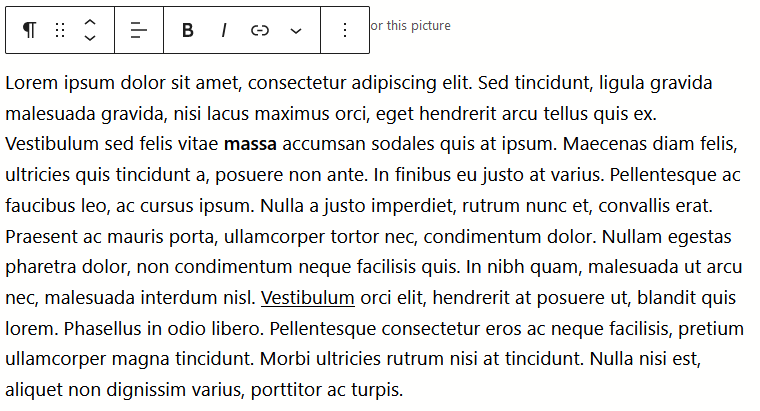
Observe that the word is now underlined as a link.
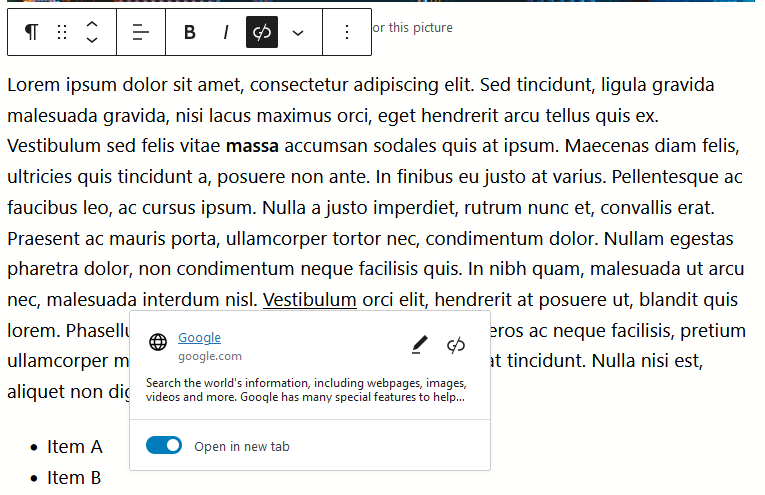
Clicking on the link will show a popup that allows editing the link, changing settings of the link, and removing the link.
Previewing a Post
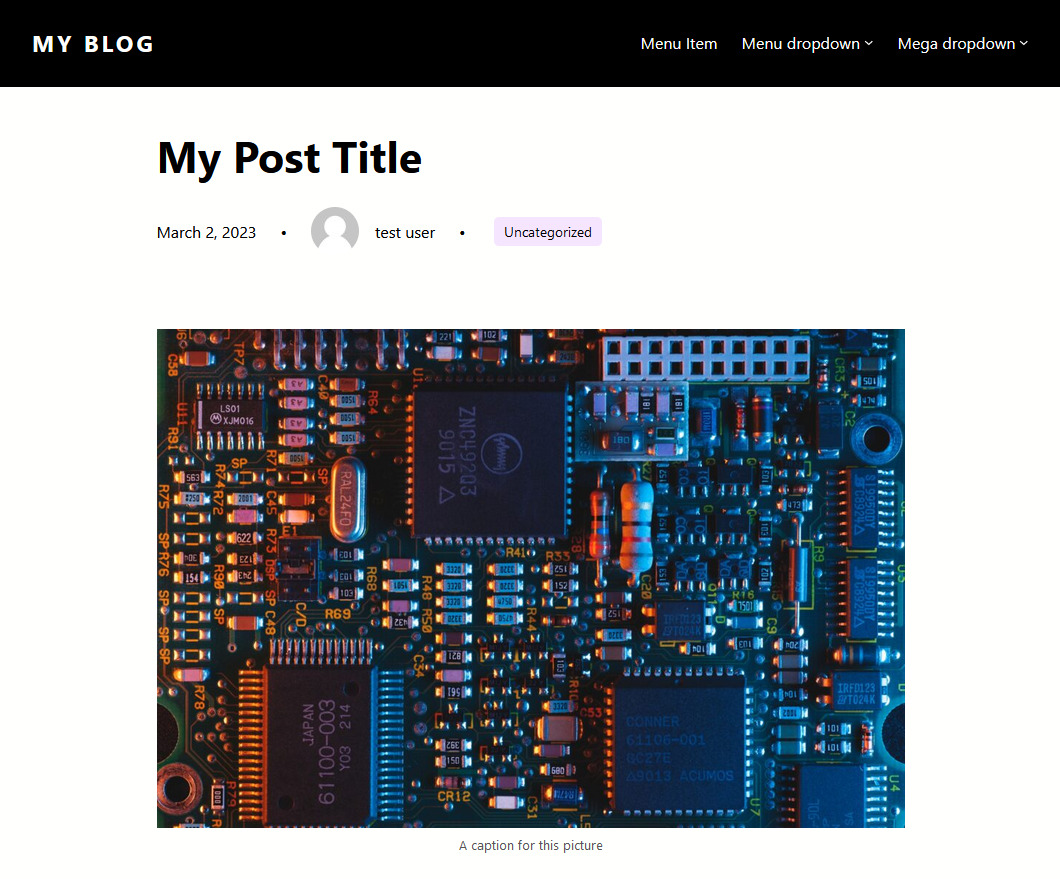
Now that we’ve made edits to the post we will preview it to see how it will actually appear on our website. Posts are subject to the formatting of the WordPress theme applied to your site, so it’s always a good idea to preview before publishing to confirm that everything is displayed as desired.

From the top right of the screen click “Save Draft”.

Now that the draft is saved click, form the top right corner of the screen click “Preview”.

A menu appears and gives us options for how we’d like to preview our site. Leave “Desktop” checked and then click “Preview in new tab”.
A new tab will then be opened in your web browser.
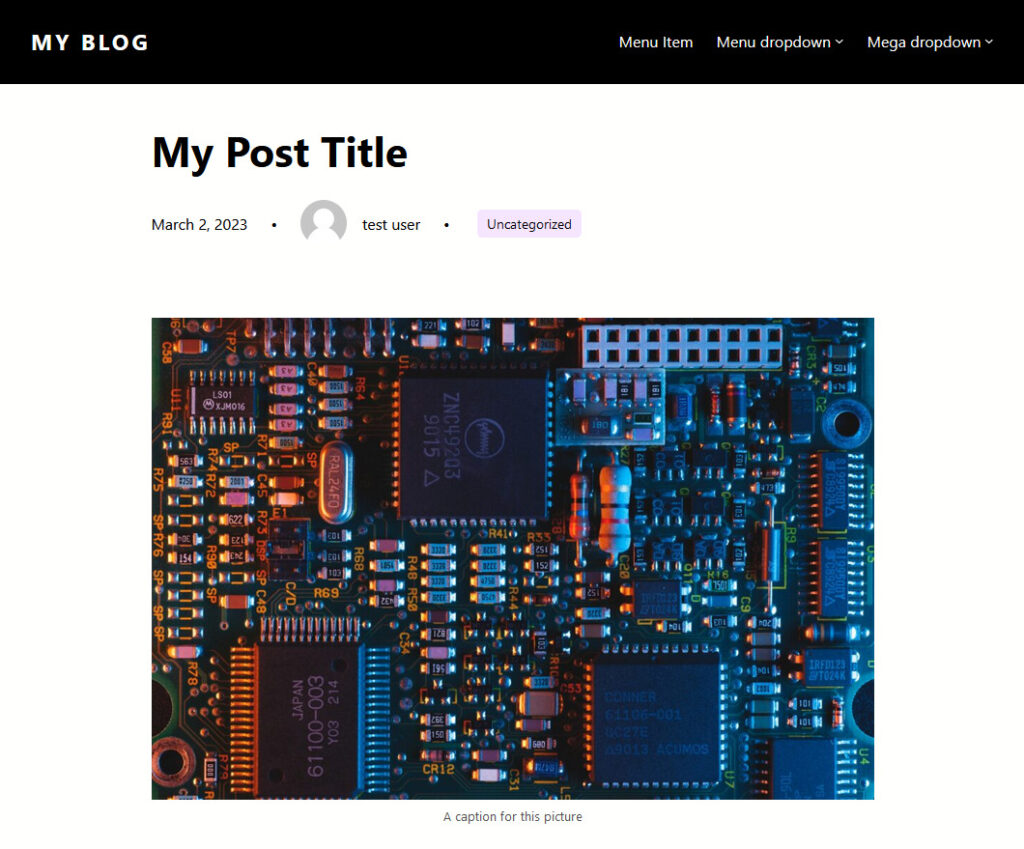
Review your post and confirm that all the details in it are as desired. When you are complete close the preview tab and return to the previous tab.
Publishing a Post
Before a post is visible on your site it must be published. Prior to publishing we will review some settings.

To review the post settings start by clicking the “Gear” icon on the top right of the screen.
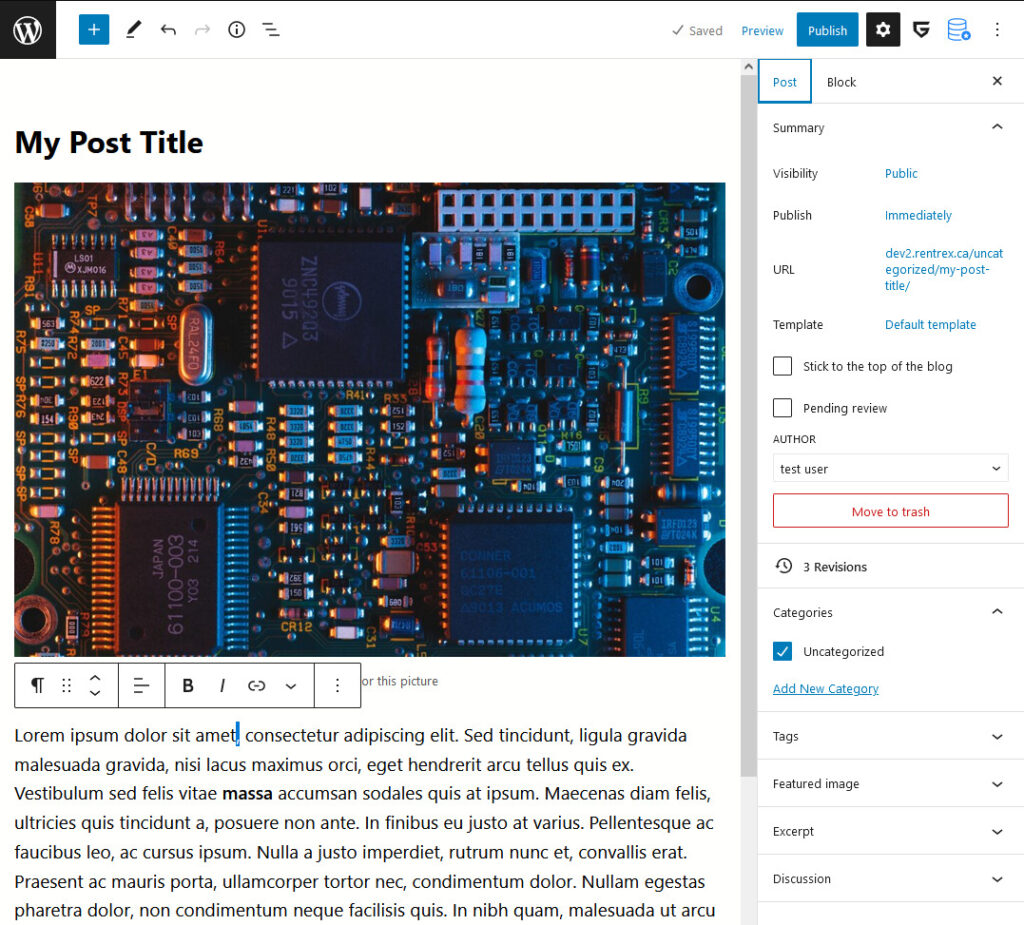
Ensure that the “Post” tab is selected within the settings menu on the right side of the screen.
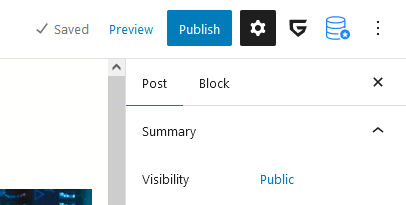
First, within the summary section there are the visibility options. Post may either be public, private, or password protected. Public posts are visible to all viewers of your website, and private posts are only visible to users who are logged in. This is a useful way to provide user only content.
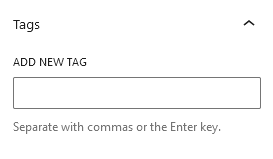
The tags section provides an area to set the tags on the post. Tags allow for easier indexing and searching of your post.
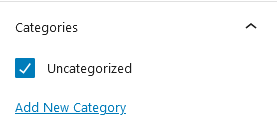
The categories section allows the posts category to be specified. Categories can be used for filtering. Click “Add New Category” to add categories for your post.
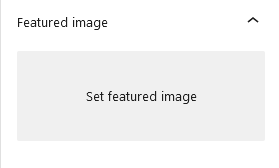
The “Set featured image” section allows a main image to be applied for this post. Depending on your theme this image may be shown in the header of the post on it’s page, along with the post in a directory of all posts, in searches of posts, and more.
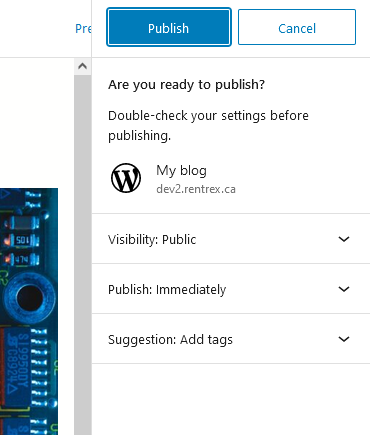
When all the settings have been specified as desired click “Publish” to publish the post.
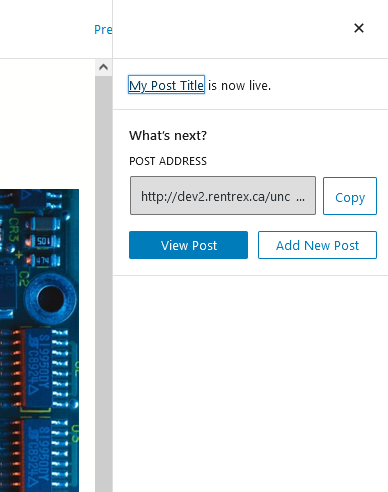
Confirmation is then given that the post is live.
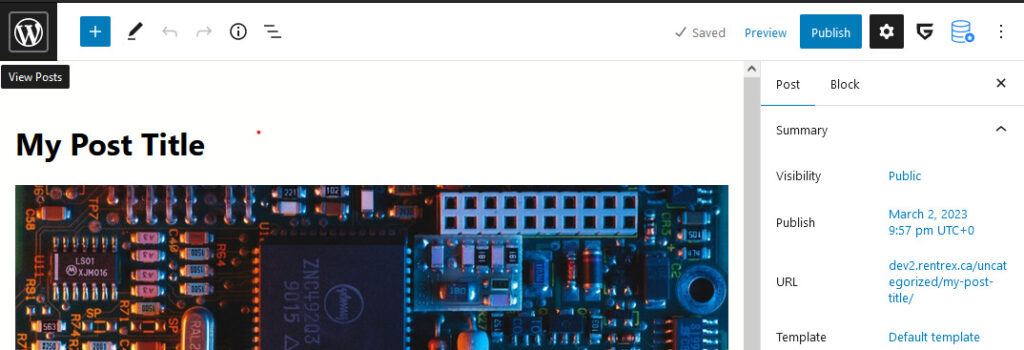
Click the “WordPress” icon on the left side of the screen to return to the main WordPress page. Depending on your configuration this icon may be replaced with your sites logo.
Quick Editing a Post
Quick editing is very useful for changing the publish status, categories, tags, and other metadata about posts easily.
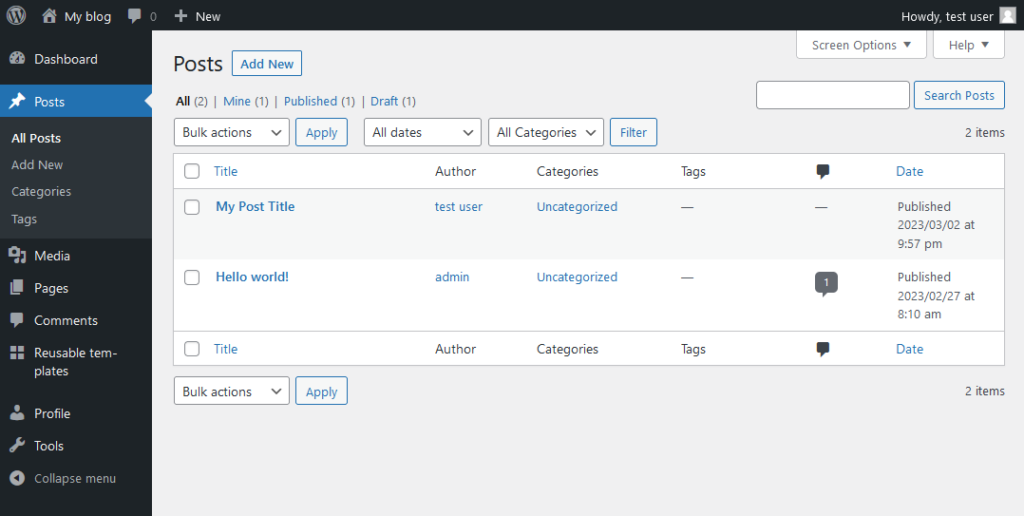
Navigate back to the “Posts” section by clicking “Posts” on the menu on the left side of the screen.
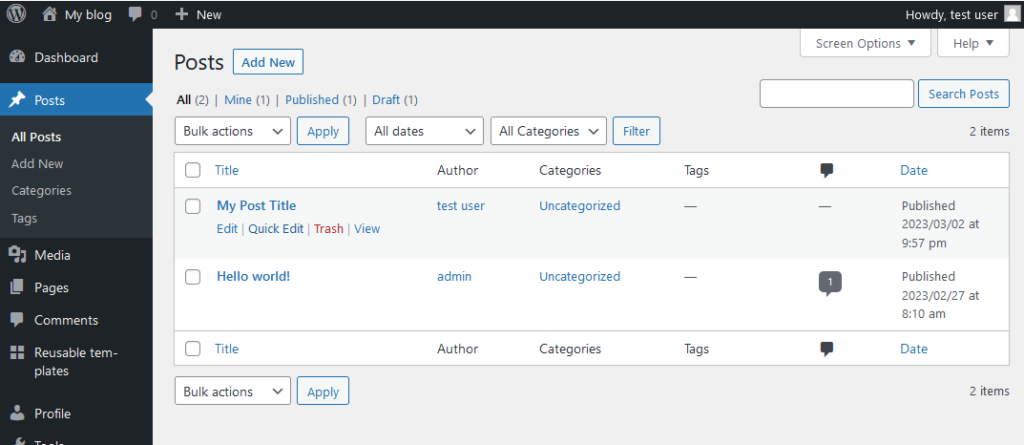
Hover over the post to be edited, observe that the options “Edit”, “Quick Edit”, “Trash”, and “View” appear. Click on “Quick Edit”.
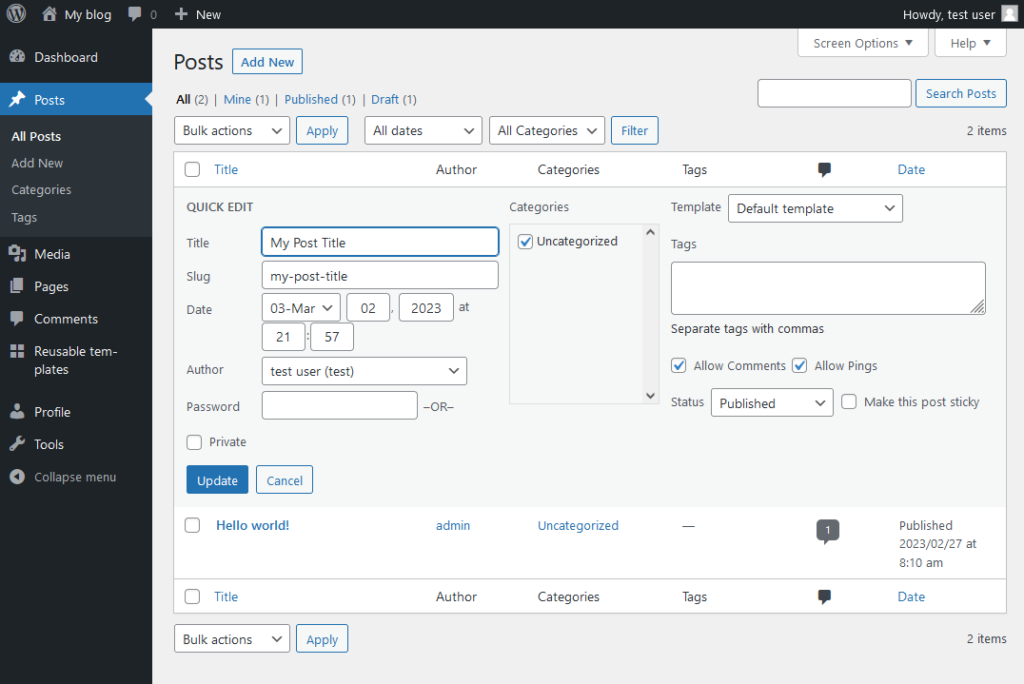
The quick edit panel will then open allowing for making some changes to the post. Make changes as desired, and when complete click “Update”.
Leave a Reply
You must be logged in to post a comment.