

A very important factor to your websites usability is its responsiveness and performance. Not only will your users be put off and potentially turned away by a slow website, but so will the search engines that drive them there. WordPress has some great plugins that can optimize your site and increase speed. We’ll look at two of those plugins along with a speed assessment tool that is offered by Google. There are many alternative plugins to consider, however the process will generally be similar.
Assessing Your Current Performance
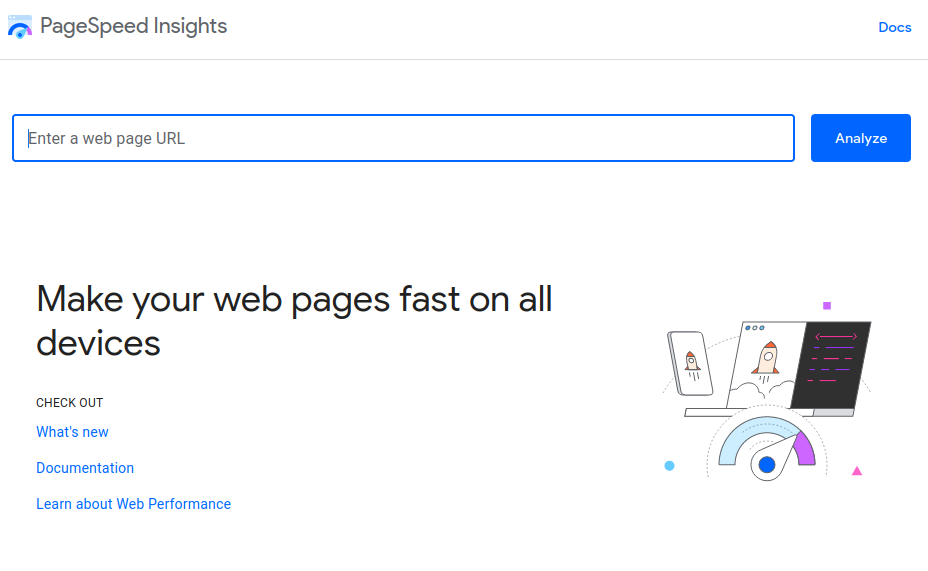
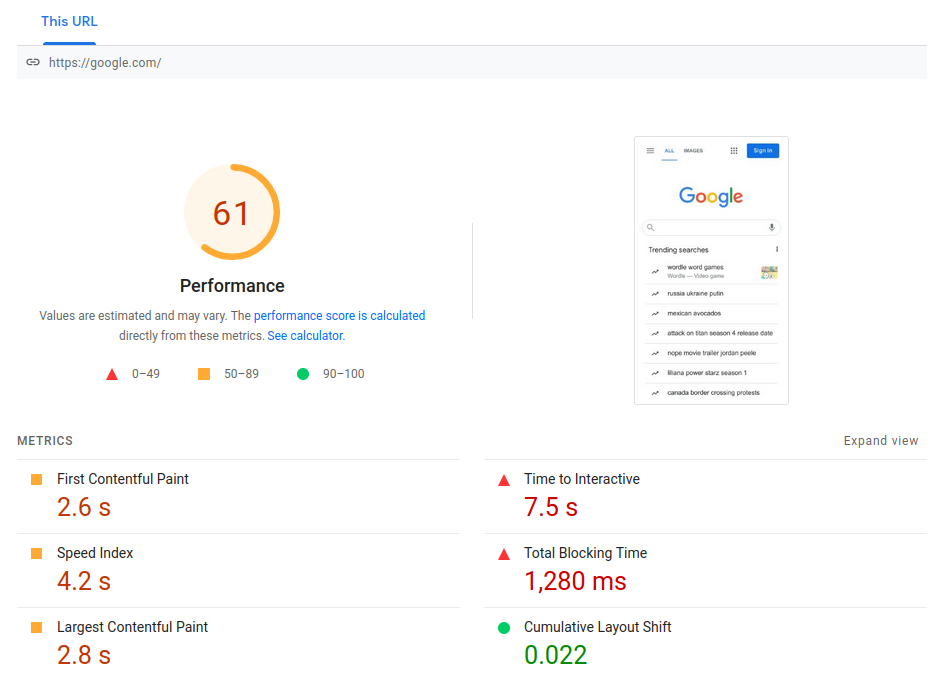
First thing we need to do is assess your websites current performance. This will tell us if optimizations are needed, and provide insights for what we can best to do optimize the site.
Find the tool at: https://pagespeed.web.dev/
The page speed tool provides insights on performance in both mobile and desktop applications.
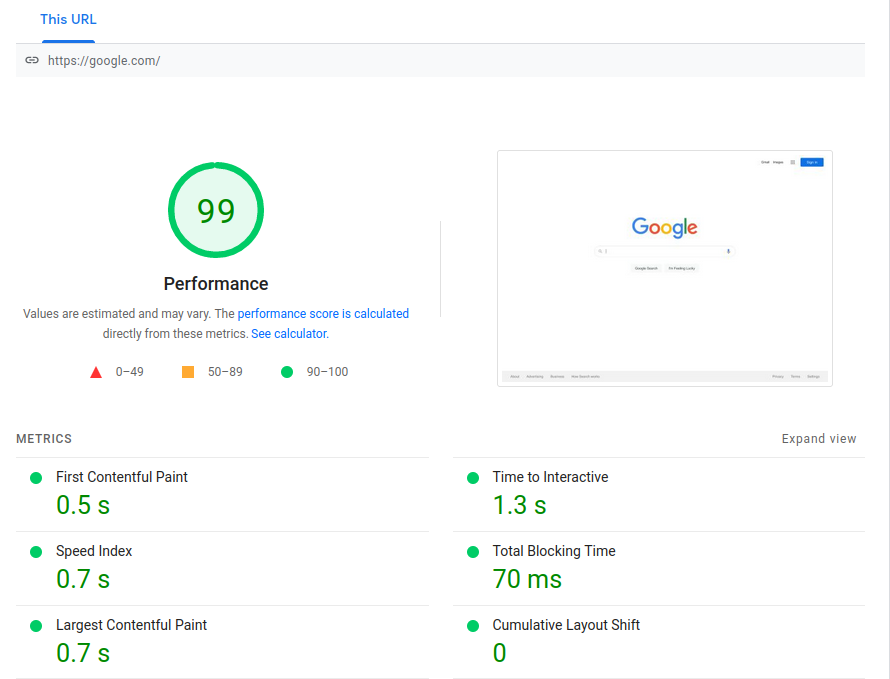
Review the diagnostics and opportunities section to determine what issues can be slowing down your website.

We are going to focus on items like the opportunities above, there are many plugins that can automatically convert images and serve them in formats that will accelerate page loading.
Additionally there are many caching plugins that will resolve issues like the above and yield great performance improvements.
Image Optimization
Optimizing images allows us to make great gains for page speed, especially on mobile. Though it’s possible to manually convert your images to a more compressed format (like WebP), and resize them if they are too large manually, it would be a time consuming process. Instead we’ll opt to use one of the many Image optimizer plugins available to us. One such plugin is “EWWW Image Optimizer”, but there are many with similar functionality.
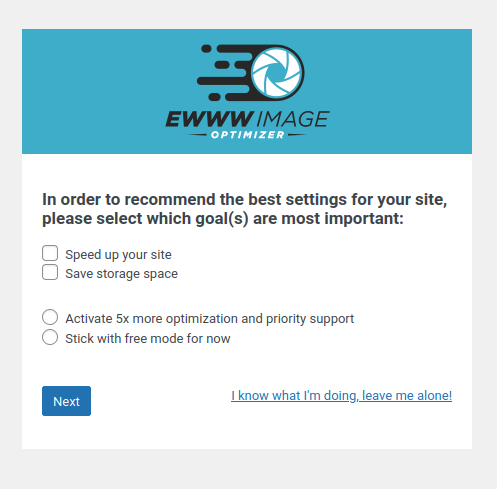
When being activated for the first time EWWW presents a setup wizard that will optimize its settings based on your goals. Unless you need to free up some space on your server, sticking with “Speed up your site” will result in greater improvements. (You can bypass the setup wizard by selecting “I know what I’m doing, leave me alone!”)
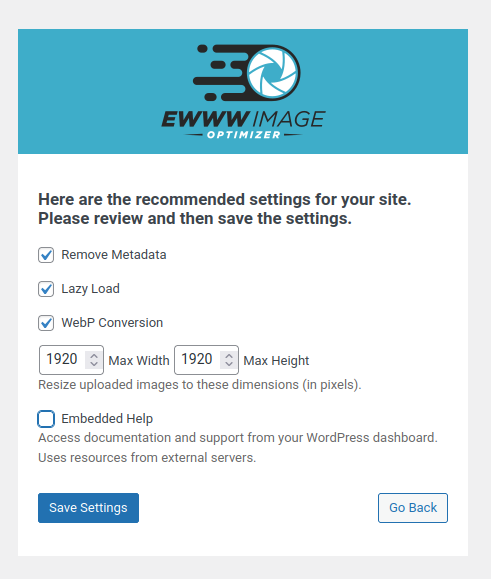
On the next page, enable “Remove Metadata”, “Lazy Load”, and “WebP Conversion”, setting the max size to 1920×1920 is also probably sufficient for most use case. Keep in mind this will limit the max resolution of any picture on your site to 1920 x 1920, if you use an image for a full page background that is of a higher resolution you may consider increasing those values to 2160 x 2160, or even 3840 x 3840.
What the options do:
- Remove Metadata
- Removes extra information that is embedded within picture files (e.g. camera information and location information). Removing this information decreasing picture size without affecting quality.
- Lazy Load
- Modifies the CSS of your webpage to only load images once they are in view. This can greatly decrease the websites initial loading time.
- WebP Conversion
- WebP is an image format developed by google that allows for significant image size savings without a decrease in quality. Not all devices are compatible with WebP however, though EWWW will setup CSS to serve WebP only if the client supports it.
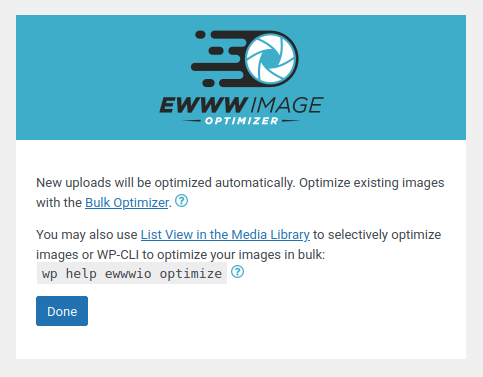
Now that EWWW is setup, all new uploads will automatically be optimized. However to optimize existing pictures uploaded to the site we will use the “Bulk Optimizer”.
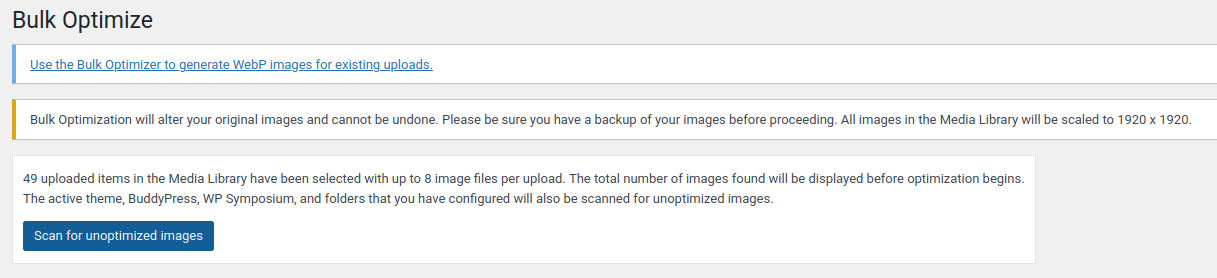
Use the Bulk optimizer to optimize existing images based on the settings you have previously selected. The optimization process may take a while, especially if you already have a lot of images uploaded. Once it’s complete, there may be a noticeable increase in speed to your website, especially to the image loading.
Caching
Caching will also greatly increase the performance of your webpage. Caching can allow the server to store and serve static HTML version of pages, direct the clients browser to save information to reduce load on the server. Many caching plugins can also perform other optimizations such as minimizing CSS by amalgamating it into a single file, and same for JavaScript. Other optimizations to a pages HTML are also possible.
The plugin I’ll be demonstrating is called “WP Fastest Cache”, though there are many that provide similar functionality.
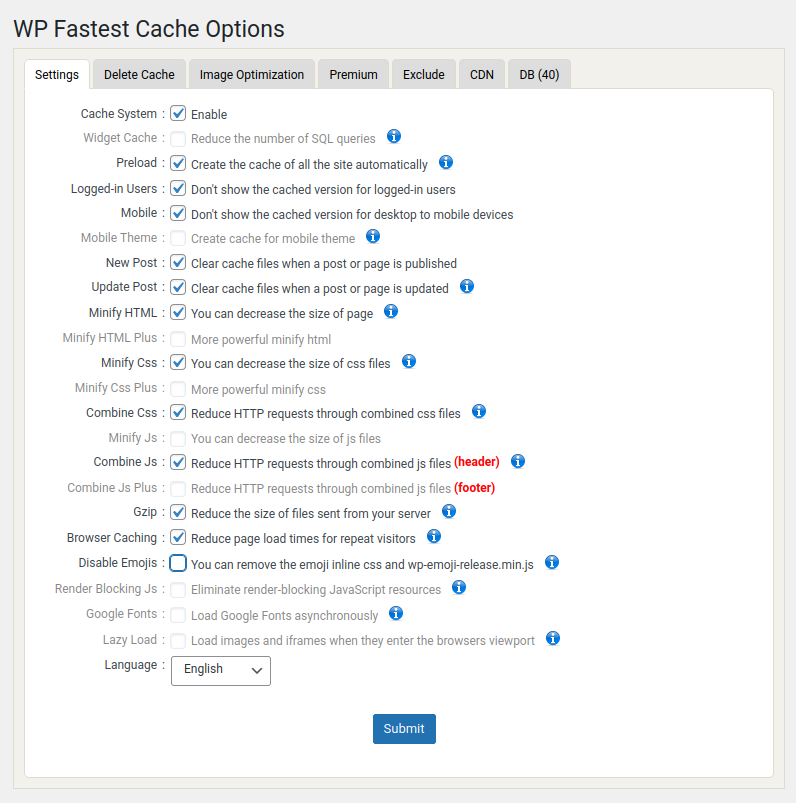
After activating for the first time “WP Fastest Cache” will not initially be enabled. The settings shown above will work for most users.
What the options do:
- Cache System
- Must be enabled for caching to be on.
- Preload
- Have WP Fastest Cache perform caching of all pages in the background, this means that pages will be cached and ready for the next visitor.
- Logged-in users
- This option is desirable if logged in users are shown different/dynamic content. Serving them a cached page may cause issues.
- Mobile
- If your site has distinct formatting for mobile and desktop this must be checked.
- New Post
- Have the cache updated when a new post is made or a page published.
- Update Post
- Have the cache updated when a post or page is updated.
- Minify HTML
- Optimizations to reduce HTML file size.
- Minify CSS
- Optimizations to reduce CSS file size.
- Combine CSS
- Combines multiple CSS files into a single file, this can provide a big benefit if many plugins are installed, or on a more complicated theme
- Combine Js
- Combines JavaScript header files to reduce HTTP requests. To combine the entire JavaScript file the pro version of the plugin is required.
- Gzip
- Uses compression to reduce the size of files sent.
- Browser Caching
- Instruct the clients browser to cache files locally. This can provide large performance improvements for repeat visitors.
Validating Improvements
Now that images have been optimized and caching setup your page will likely be much snappier and more responsive than before. To quantify this effect, re-run googles page speed insights. Don’t be concerned if your website is not getting a perfect score, even google’s mobile version does not get perfect marks.
Leave a Reply
You must be logged in to post a comment.